Name: Chain Xu
Tel: +86-519-8985-1850
Mobile: +86-185-5109-0083
E-mail: chain@tremensteel.com
Skype: chain.xu
QQ:
1142896929


Flange Face Surface Finish
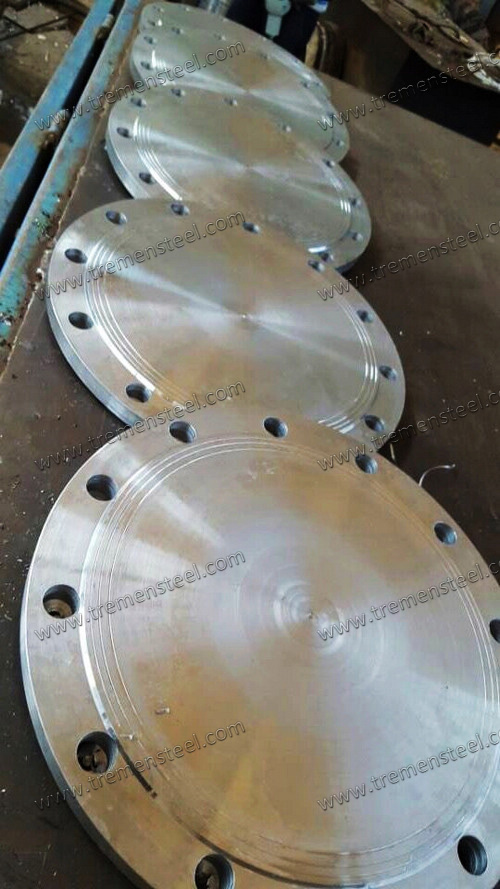
The American National Standards Institute (ANSI) code for flanges and flanged fittings (ANSI B16.5) requires that the flange face has a specific roughness to ensure that this surface be compatible with the gasket and provide a high quality seal. A serrated finish, either concentric or spiral, is required with 30 to 55 grooves per inch and a resultant roughness between 125 and 500 microinches.
This allows for various grades of surface finish to be made available by flange manufactures for the gasket contact surface of metal flanges. These grades are often referred to by name e.g. stock finish. The exact definition of each grade may differ between manufacturers, but can be generalised as follows;
The gasket contact surface is typically formed by a continuous (sometimes called phonographic) spiral groove generated by a 1.6mm radius round-nosed tool at a feed rate of 0.8mm per revolution with a depth of 0.15mm. This will result in a roughness between Ra 3.2 and 12.5 micrometers (125 - 500 microinch).
Smooth Finish
No definite tool marking should be apparent to the naked eye. This is typically achieved by having the gasket contact surface formed by a continuous (sometimes called phonographic) spiral groove generated by a 0.8mm radius round-nosed tool at a feed rate of 0.3mm per revolution with a depth of 0.05mm. This will result in a roughness between Ra 3.2 and 6.3 micrometers (125 - 250 microinch).
Hydrogen Service Finish
The finish for flanges in hydrogen service is very smooth, typically between Ra 2 and 3.2 micrometers (79 - 125 microinch).
Cold Water Finish
The flange face appears as mirror like. This flange finish is usually expected to be used with metal to metal contact, i.e. without a gasket. It is seldom used in the oil, petrochem and related industries.
Measuring Surface Roughness
Flange finish is generally measured by visual and tactile means. Comparing the feel of the machined face with that of a surface finish comparator gauge, occasionally referred to as a Rupert gauge, is considered adequate.
There are two common methods of expressing roughness. They are the Arithmetic Average Roughness Height (AARH) and the Root Mean Square (RMS) Average.
Arithmetic Average Roughness Height- Calculation of the Arithmetic Average Roughness Height involves measuring the distance of the peaks and valleys and performing an arithmetic average of the measurements.
Root Mean Square Average - Calculation of the Root Mean Square Average involves measuring the distance of peaks and valleys, adding the square of these measurements and calculating the square root of the total.
The RMS value is approximately 11% higher than the AARH value.


 Tube and Pipe
 Stainless Tube and Pipe


